Installing swimming pool tiles is a job that requires precision and attention to detail. If not done correctly, it can lead to leaks and other problems. Here are the steps on how to install swimming pool tiles the correct way.
Waterproofing should be done at every step to ensure that the tank/swimming pool does not leak and is waterproof.
Prepare the surface #
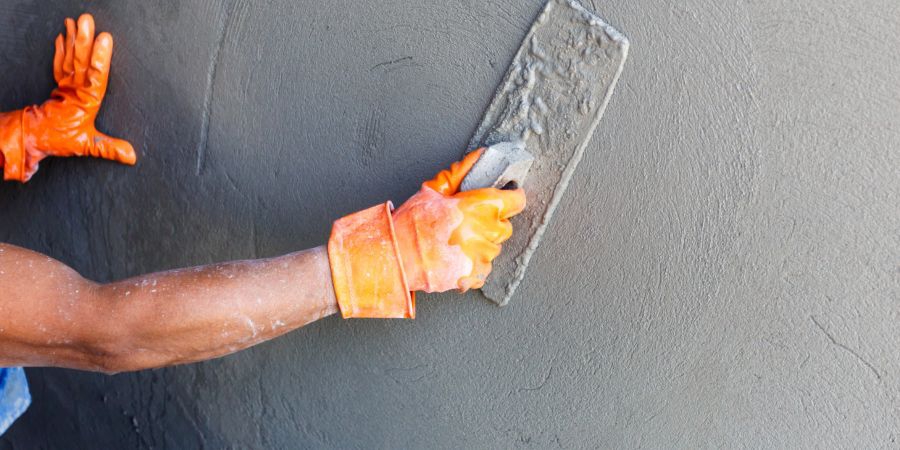
The wall/floor surface of the pool must be clean and level before you start tiling. Plastering the wall and floor by applying a thin layer of mortar or cement to cover the surface and make it smooth and even. Plastering can improve the appearance, durability, and leak proof of the wall and floor.
- Add waterproof admixtures in the plastering mixture to improve the waterproof ability.
- For plastering, use PPC cement (Portland Pozzolana Cement) or a Slow Setting Cement as it reduces the risk of thermal cracking. PPC cement is also more resistant to sulphate attacks than OPC, making it suitable for use in coastal areas or areas with high sulphate levels in the soil.
Before tiling swimming pool plaster surface should be allowed to cure for 10 days or more based on manufactures instruction.
Waterproofing #
This is a essential step.
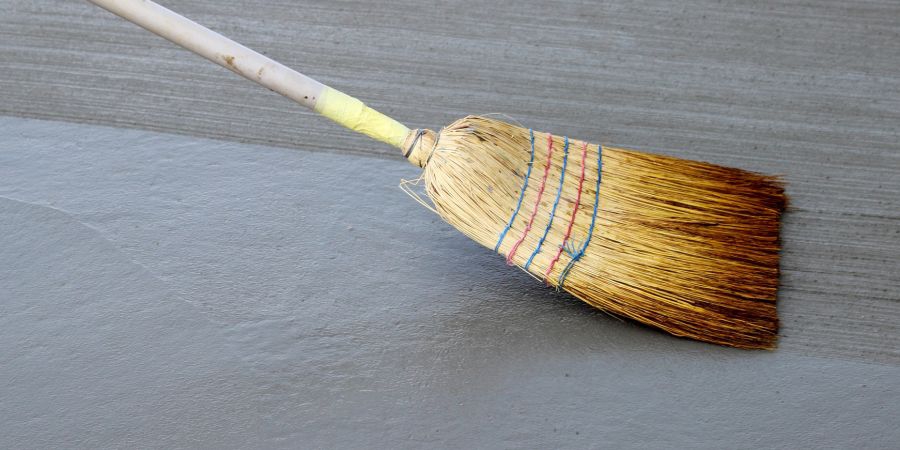
Cementitious waterproofing coating should be applied to both wall and floor surfaces of the swimming pool. Apply 2 coats of cementitious waterproofing coating to protect against water leaks or seepage from the swimming pool.
Cementitious waterproofing is a method of applying a thin layer of cement based waterproof coating for masonry surfaces to protect from water leaks/seepage. It is a common and easy-to-use technique that can be used for both positive and negative side waterproofing. Cementitious waterproofing can be used for various applications, such as basements, balconies, swimming pools, bathrooms, bridges, tanks, and reservoirs. Cementitious waterproofing products are usually two-component blends that are mixed with water and applied with a brush, trowel, or spray. Some products may contain acrylic additives or polymers to enhance the bonding and flexibility of the coating. Cementitious waterproofing products are available from many suppliers and manufacturers
Laying Tiles #
Clean tiling surface for best tiles adhesion
Wet the tiling surface with a wet sponge, but do not soak it. If possible use a wet saw to cut the tiles to size for high precession cuts.
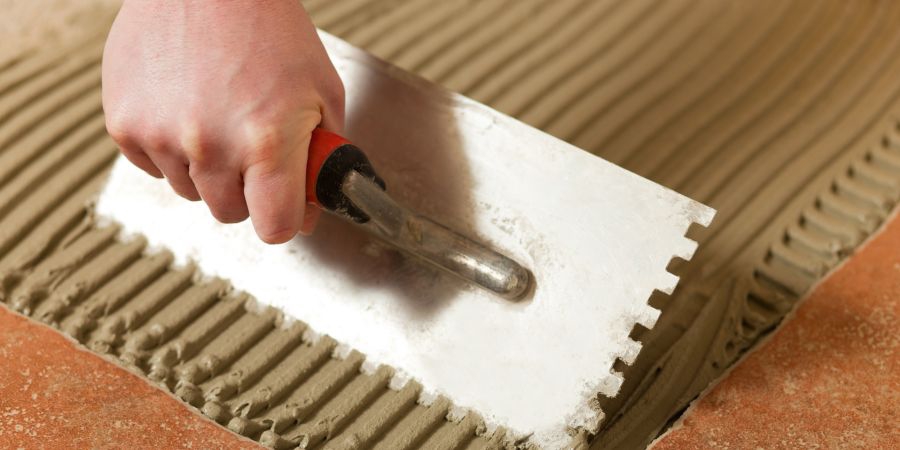
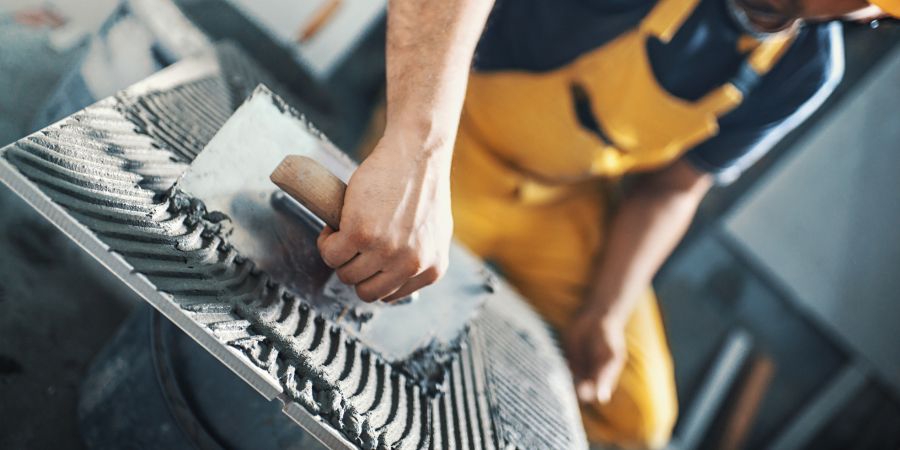
Apply a thin layer of waterproof tiles adhesive to the back of each tile. Use a notched trowel to create ridges in the mortar. Lay the tiles. Start laying the tiles from the bottom up.
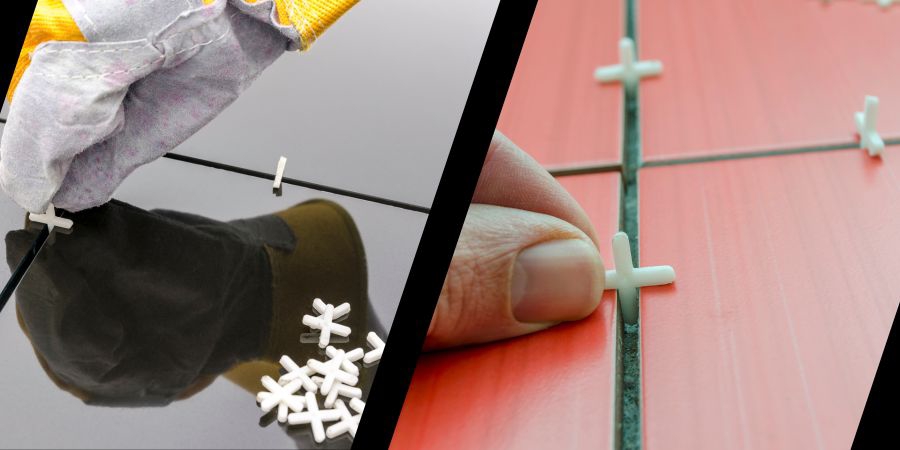
Use tiles spacer/leveler (2mm or 3mm) to ensure that the tiles are evenly spaced.
Grout the tiles #
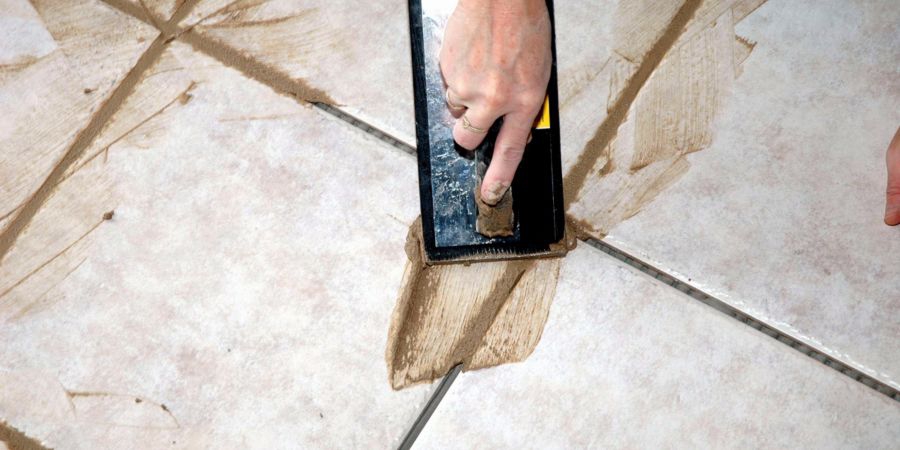
Let the installed tiles dry for 24-48 hours. (Refer to the tiles adhesive usage instructions for exact setting time) Once the tiles are dried, remove the tiles spacers/leveler and apply waterproof tiles grout to the spaces between them. Use a grout float to spread the grout evenly.
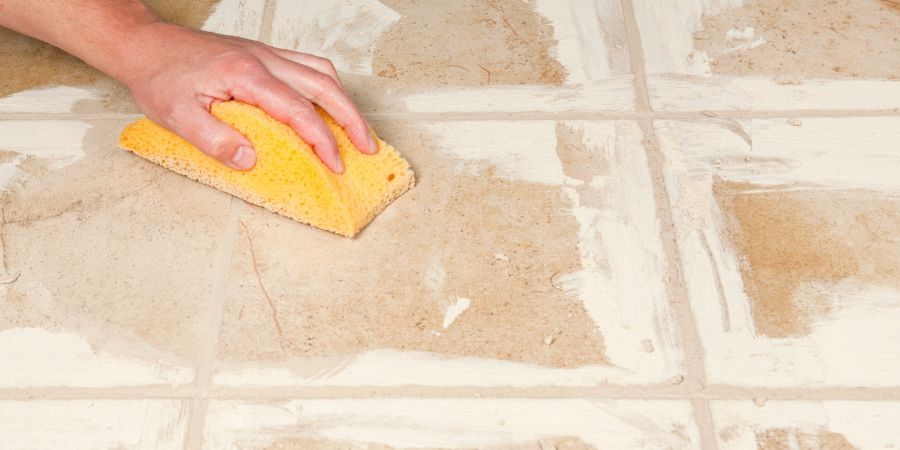
Once the grout has dried for 10-15 min, Remove excess grout using a wet sponge.
Seal edges/corner using silicone #
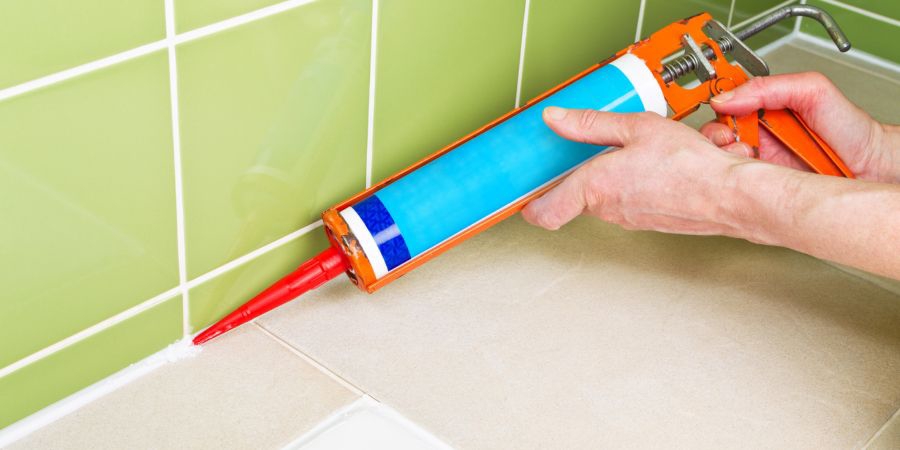
Seal the tiles. Once the grout has completely cured, apply a all weather waterproof silicone sealer to the tiles edges and corners. This will help to protect them from the elements.
Once the sealant has dried, your pool is ready to use.
Fill the water and Enjoy your pool!

Important Notes #
- Always use high-quality cement, waterproof cement admixtures, waterproof tile adhesive & waterproof grouts.
- Work in small sections so that the mortar does not dry out before you have a chance to lay the tiles.
- Use tiles spacers (2mm or 3mm size) to make sure that the tiles are even.
- Clean up any excess grout immediately so that it does not stain the tiles.
- Seal the tiles corners and edges regularly, to prevent the water from leaking/seeping in the swimming pool.
If you follow these steps, you will be sure to install your swimming pool tiles correctly and avoid leaks.